Monday, September 8, 2008

Assignment 3 - Done

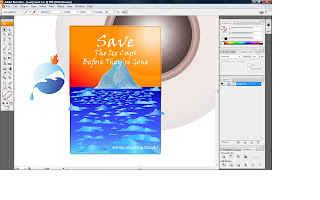
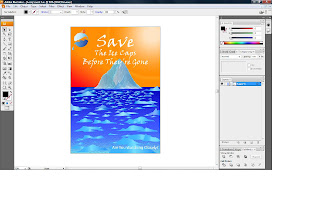
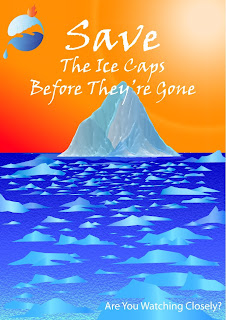
My study area is on the ice caps. My poster is to let people realize how serious and how fast the ice caps melting. They should know what will happen if no more ice caps left on the earth. Arctic ice melting is much faster than we are thought. It causing sea level increase and many more nature disease which is harmful to living and non-living things.

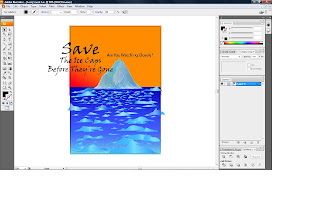
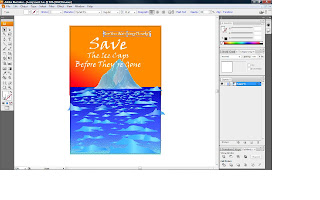
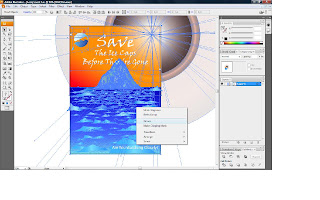
In my poster, i remain the iceberg on my assignment 2 because it is the most important message what i want to deliver to everyone. The ice caps is melting and floating on the sea. I draw the ice caps floating on the sea and many small part of the ice caps separate out of the bigger ice caps is to show the melting of ice caps. Other than that, I also draw a sun by using flare tool and put the hot gradient on the sky. With the colour of the sky, it show that the ice caps is melting. High temperature cause the big iceberg melting and many small parts of the iceberg dispersed from each other.

The poster title name "Save The Ice Caps Before They're Gone" is a strong message to let people really pay attention to this issue. Ice caps melting is a very common issue but how many people really care about it? Global warming cause the temperature increasing rapidly, affect ice caps melting and affect everything in this world, our earth gone badly in just few years..

So, are you watching closely what are happen now and what suppose we do? The future of earth is depend on what we doing now.....Do something before it is too late.....
Assignment 3 Step

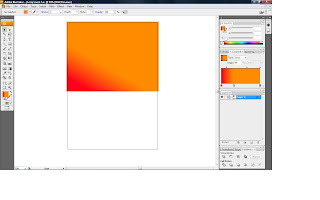
Step 1 :
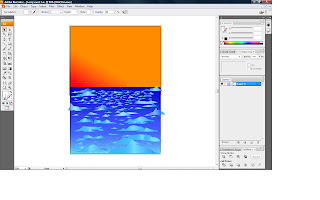
I use rectangle tool draw a rectangle shape. Then use gradiant colour to get the hot colour background and set the gradient angle with 60 degree.

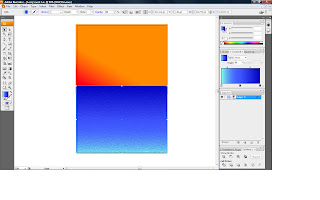
Step 2 :
Then, i draw another rectangle with rectangle tool and use gradient colour to get the sea colour. After that, select the gradient sea, next select effect, then select distort, and choose ocean ripple effect. Then the sea will got the effect of ocean ripple.

Step 3 :
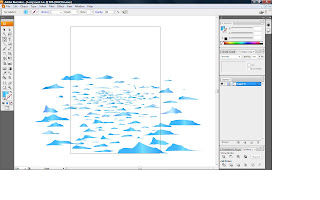
I use ctrl+3 to hide the background. Then, use pen tool draw the small small melting part of the ice caps. After finish draw, i use gradient colour to colour the melting ice caps. I apply different gradient colour and adjust tranparencey on some of the melting ice caps.

Step 4 :
I rearrange all the small melting ice caps and press ctrl+alt+3 to get back the hidden background.

Step 5 :
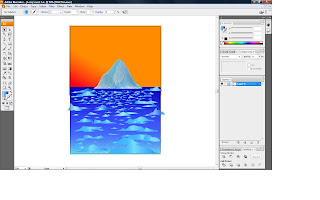
Then, copy the iceberg from my assignment 2 and place it at the middle.

Step 6 :
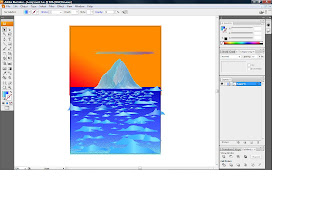
I use brush tool draw a line and go to effect select the blur effect, choose gaussian blur and apply on that line. Then, adjust the line by using direct selection tool.

Step 7 :
After adjust the line, i place it at the bottom of the biggest ice caps. Then, i use type tool to write the word and adjust the size of the word.

Step 8 :
After that, i change the colour of the word to white colour.

Step 9 :
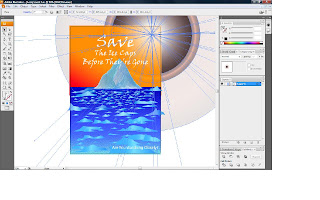
I arrange the word at the middle and right bottom. After that, i select flare tool to draw the sun and put it on the right top.

Step 10 :
Then i take my symbol put in illustrator and adjust it.

Step 11 :
I select all and grop them together.

Step 12 :
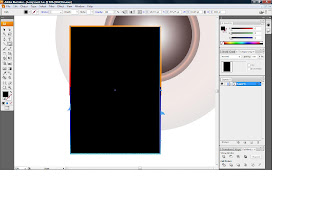
I use rectangle tool to draw a A3 rectangle to cover my poster.

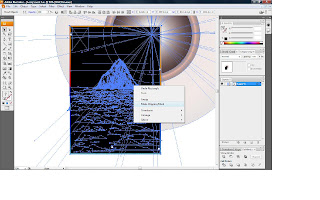
Step 13 :
Select all, then right click, choose make clipping mask. Then the things outside the A3 will disappear.
Step 14 :
Done.

Tuesday, September 2, 2008

Project Chapter

Assignment 3 Title : Save The Ice Caps Before They' re Gone
Project Start Date : August 19, 2008
Projected Finish Date : September 9, 2008
Project Manager : Chuah Wei Heng
HP : 0164849266
Email : wayne_cwh124@hotmail.com

Project Objectives:

My area in on the ice caps. My assignment is to let people realize that our ice caps melting problem is getting serious because of global warming. They should realize the dangerous and how serious the melting of the ice caps. My assignment 1 and 2 is about the melting of ice caps and iceberg. What i am going to draw in my assignment 3 is the ice caps melting and floating on the sea. I draw the ice caps floating on the sea and small small part of the ice caps separate out of the bigger ice caps. Other than that, I will also draw a sun in assignment 3 by using effect. Then i will use hot colour on the sky. My assignment 3 is almost look the same with my assignment 2 which is a iceberg floating on the sea. So, i will just do what i have plan to do.That is the things will appear in my assignment 3.

Approach:

I will use pen tool to draw my ice caps and the melting part of the ice caps on my assignment 3, it need a lot of time to draw with pen tool in illustrator.

After that, i will use gradient colour in my assignment 3 on the sky and sea. The gradient colour will use more because the colour mix up is very nice and attracting.

I will also use some effects on some area in my assignment 3, like blur effect. Paintbrush tool is also will be use in my assignment 3. I will also add effect on the sea.

Roles and Responsibilities:

- I sketch the image before i start my project.
- I will use pen tool to draw my ice caps.
- Adjust again the shape of the ice caps and modify it.
- Colour my assgiment inside the illustrator.
- Adjust again colour and try with other colour that suitable for the assigment 3.
- Write My name, Id, and so on. Describe what my assignment about and the colour choose.
- Print out in A4 size paper.
- Adjust and print out my assignment with A3 size.


Tuesday, August 26, 2008

Monday, August 18, 2008

My Assignment 2 Finish

Title : The Floating Iceberg

Global warming cause the temperature increasing rapidly and affect everything in this world. Iceberg floating on the sea is also because of global warming. High temperature make the big iceberg melting and some of the iceberg dispersed from each other. That is the reason why got iceberg floating on the sea. Floating iceberg also will cause dangerous to ships.

Tuesday, July 29, 2008

Step Of Making

Step 1 :
I move my reference picture to illustrator. Then I live trace the iceberg in the picture to my illustrator.


Step 2 :
I use pen tool to draw the shape of iceberg. The size and the shape of each iceberg is difference.


Step 3 :
I put gradient colour into each iceberg.


Step 4 :
Then I change the opacity of the iceberg which is live trace from the picture to 40%.


Step 5 :
After that, I overlap the live trace iceberg with my own iceberg drawing.


Step 6:
I use brush tool to draw a line for the sea and make the line of the sea look blur.


Step 7 :
I use rectangle tool to draw my sea. After the drawing, i use gradient colour and gradient tool to put on the colour of the sea.


Step 8 :
After finish the colour the sea, then i use again the rectangle tool to draw my sky. After that i use gradient colour to colour the sky.


Step 9 :
After I colour the sky and the sea. I decide to add shadow of the floating iceberg. So, i reflect the iceberg and make the shodow of the iceberg longer a little bit. I also change the opacity of the shadow. After this all, I adjust the shape of the iceberg again and group all of of the point. This is my work of assignment 2.

Assignment2

I going to draw a iceberg floating on the sea....

My References